Posts Tagged ‘Coconut Oil’

Hey everyone, this post was meant to go up months ago at the beginning of February but feel by the wayside. I can safely say the recipe has held it’s own and it definitely worth trying out. This recipe picks up where my post on cannabis infused coconut oil left off. Hope you like it!

For this recipe I will be discussing more creative types of edibles that cannabis patients can make that are much healthier than your run of the mill pot brownies. As an advocate of cannabis as a medicine I feel medicine should be healthy and not contribute to obesity and diabetes like many sugar/butter loaded edibles do. Some people, like those with a wasting syndrome, need all the calories they can get and high fat/sugar edibles may be advisable, but they’re still better off with nutrient rich food rather than nutrient devoid brownies.

This recipe is a wonderful one for medical cannabis patients like myself because curry sauce is pretty much all fats and oils which can all be infused with cannabinoids. The coconut oil is also healthy saturated fat which may contribute to weight loss and has other benefits. While I have made numerous curries over my past year of branching into this area of cooking this is the first batch I have ever made medicated with cannabis. The curry flavor is also a wonderful way to mask the robust flavor of cannabis. I was splicing together the bits I liked of these recipes and tweaking it to my own tastes.

I’m using the general basic recipe I improvise off (a thai curry with coconut) and adding some optional peanut for more flavor. I make my curries sweet because I have a low tolerance for spicy food but love lots of good rich spiciness in my food. Remember, you can always make a sauce spicier but it is infinitely harder to make it less spicey. If you over spice something your options are add more coconut milk, add more salt, or add more sugar, all of which run the risk of ruining your overall spice balance. I advise to err on the side of sweeter rather than going bold and risking a ruined batch.

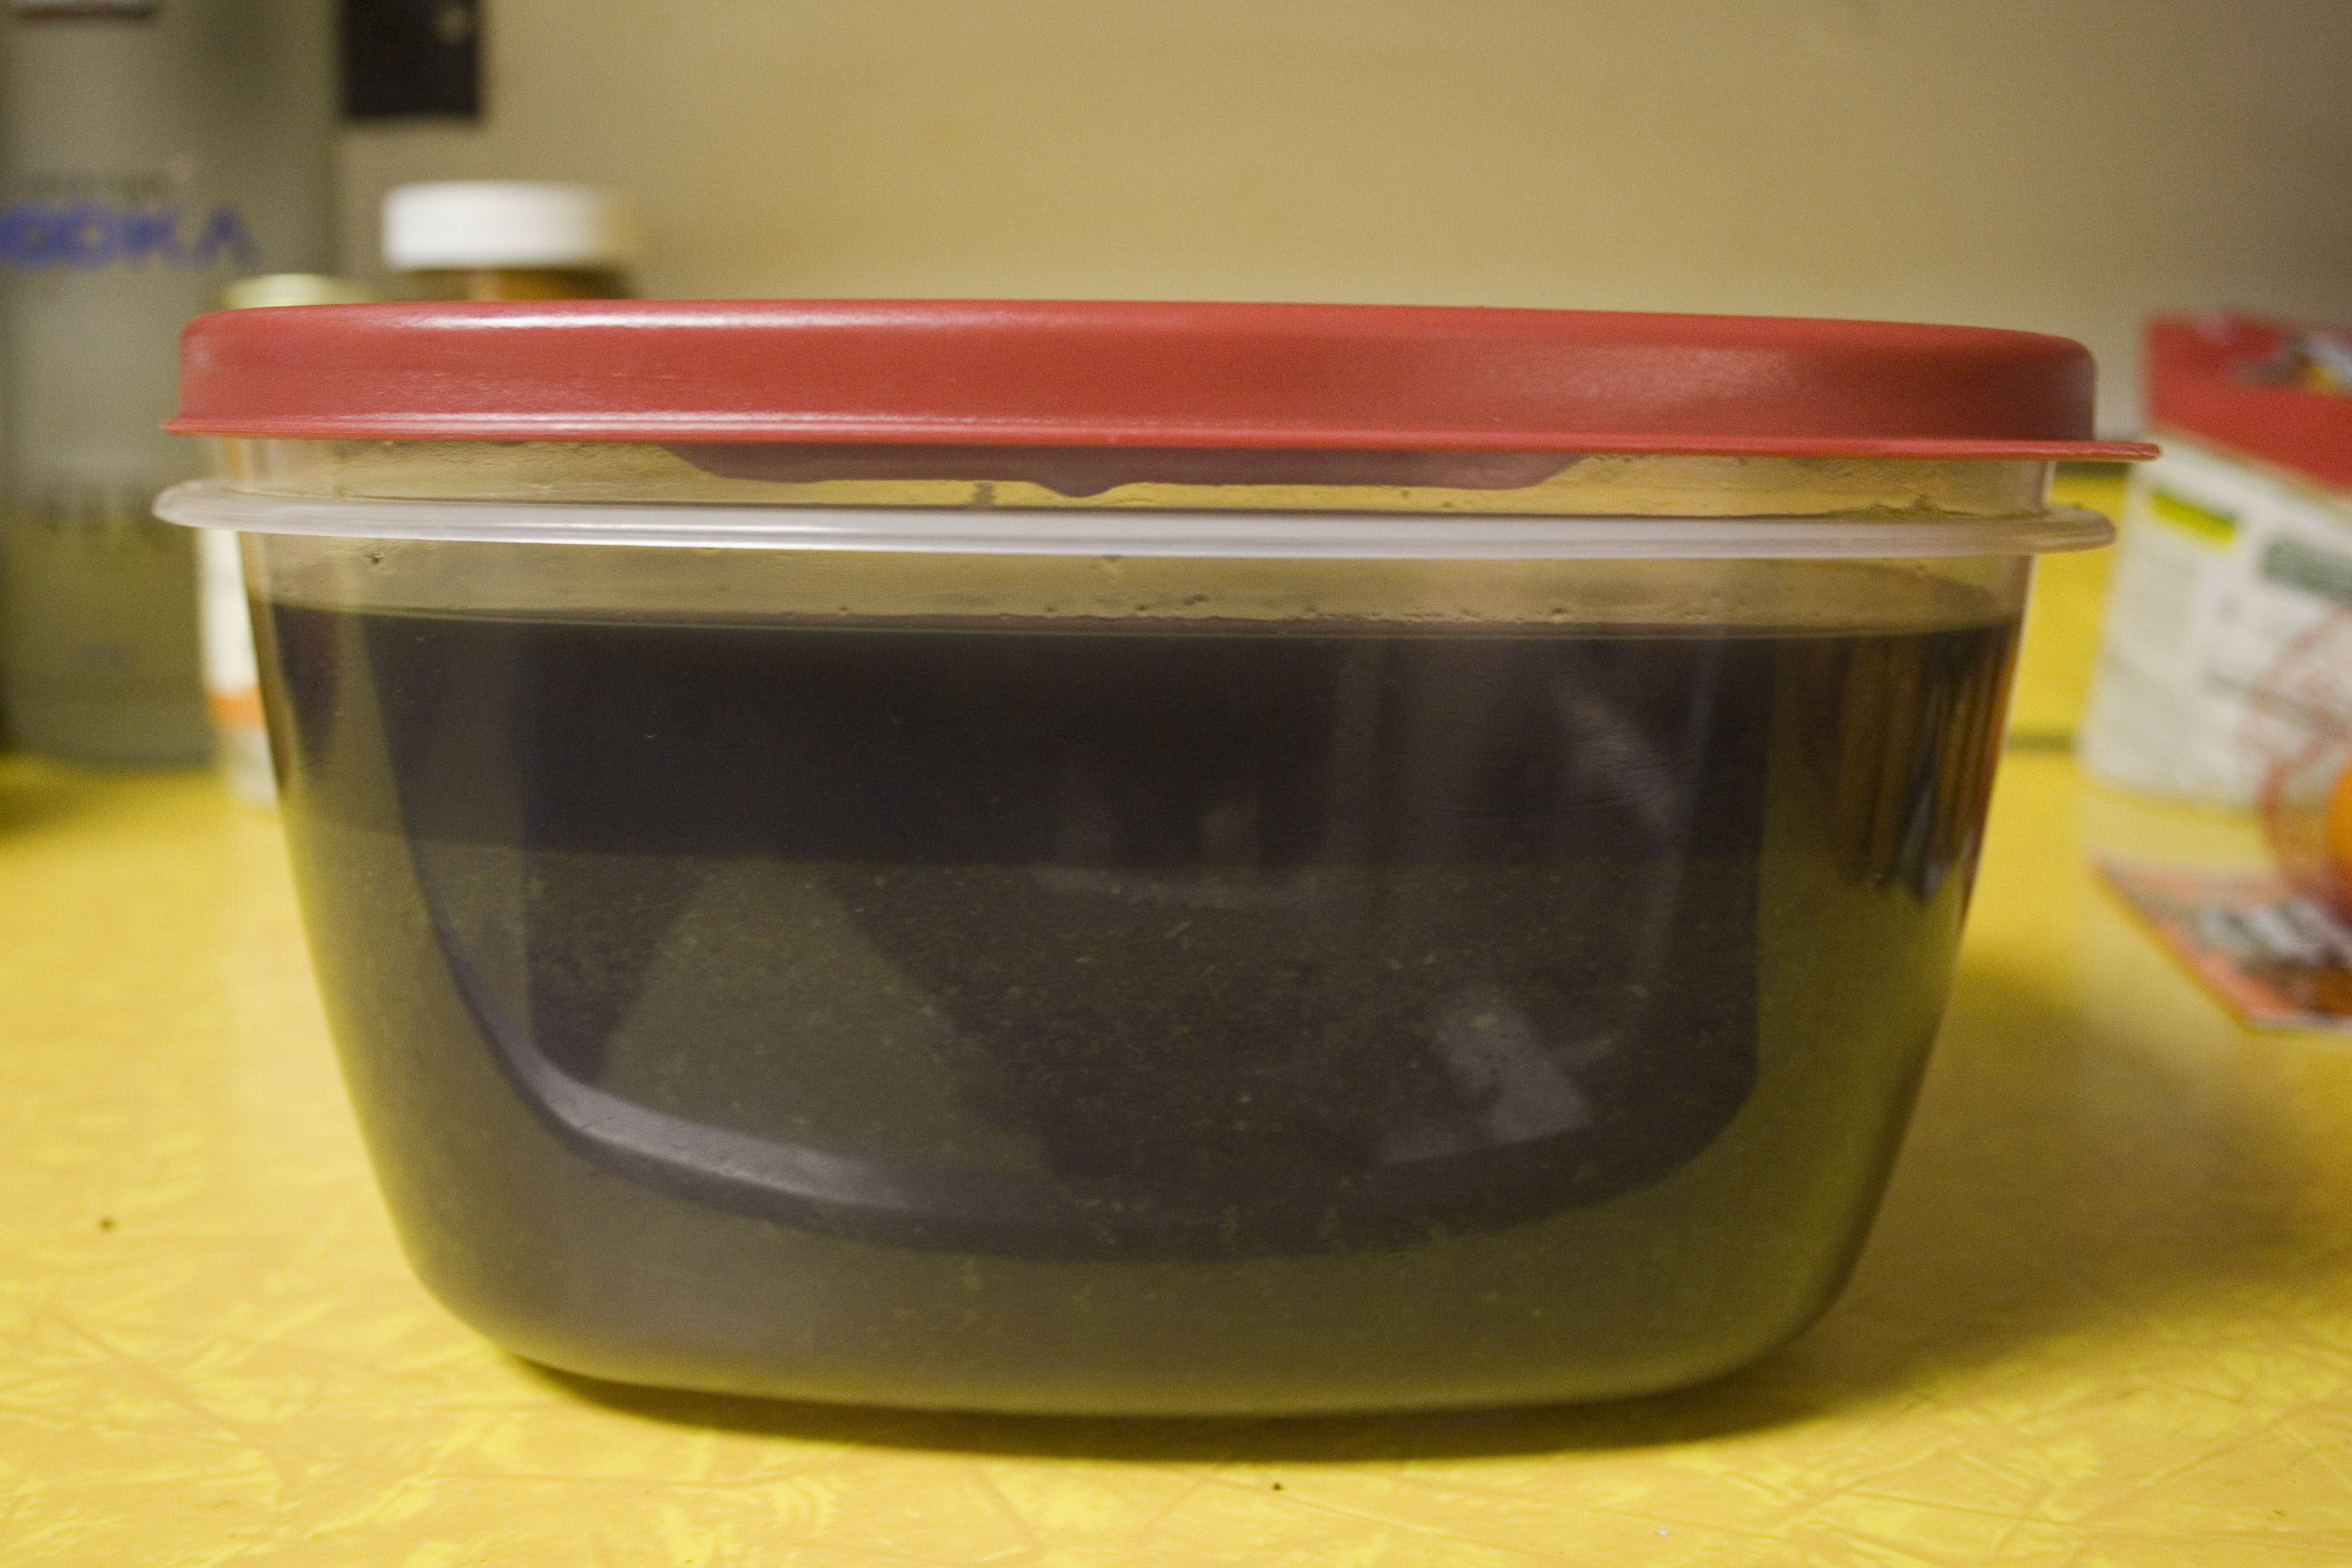
I am making this batch to jar and save so I am not adding any fresh cilantro or basil to it, as I would when serving it fresh. I will just be adding dried spices for now, but normally there would be some fresh spices going on. This batch turned out amazing and I would highly recommend this recipe to anyone who enjoys cannabis edibles but cannot stand the taste.

01

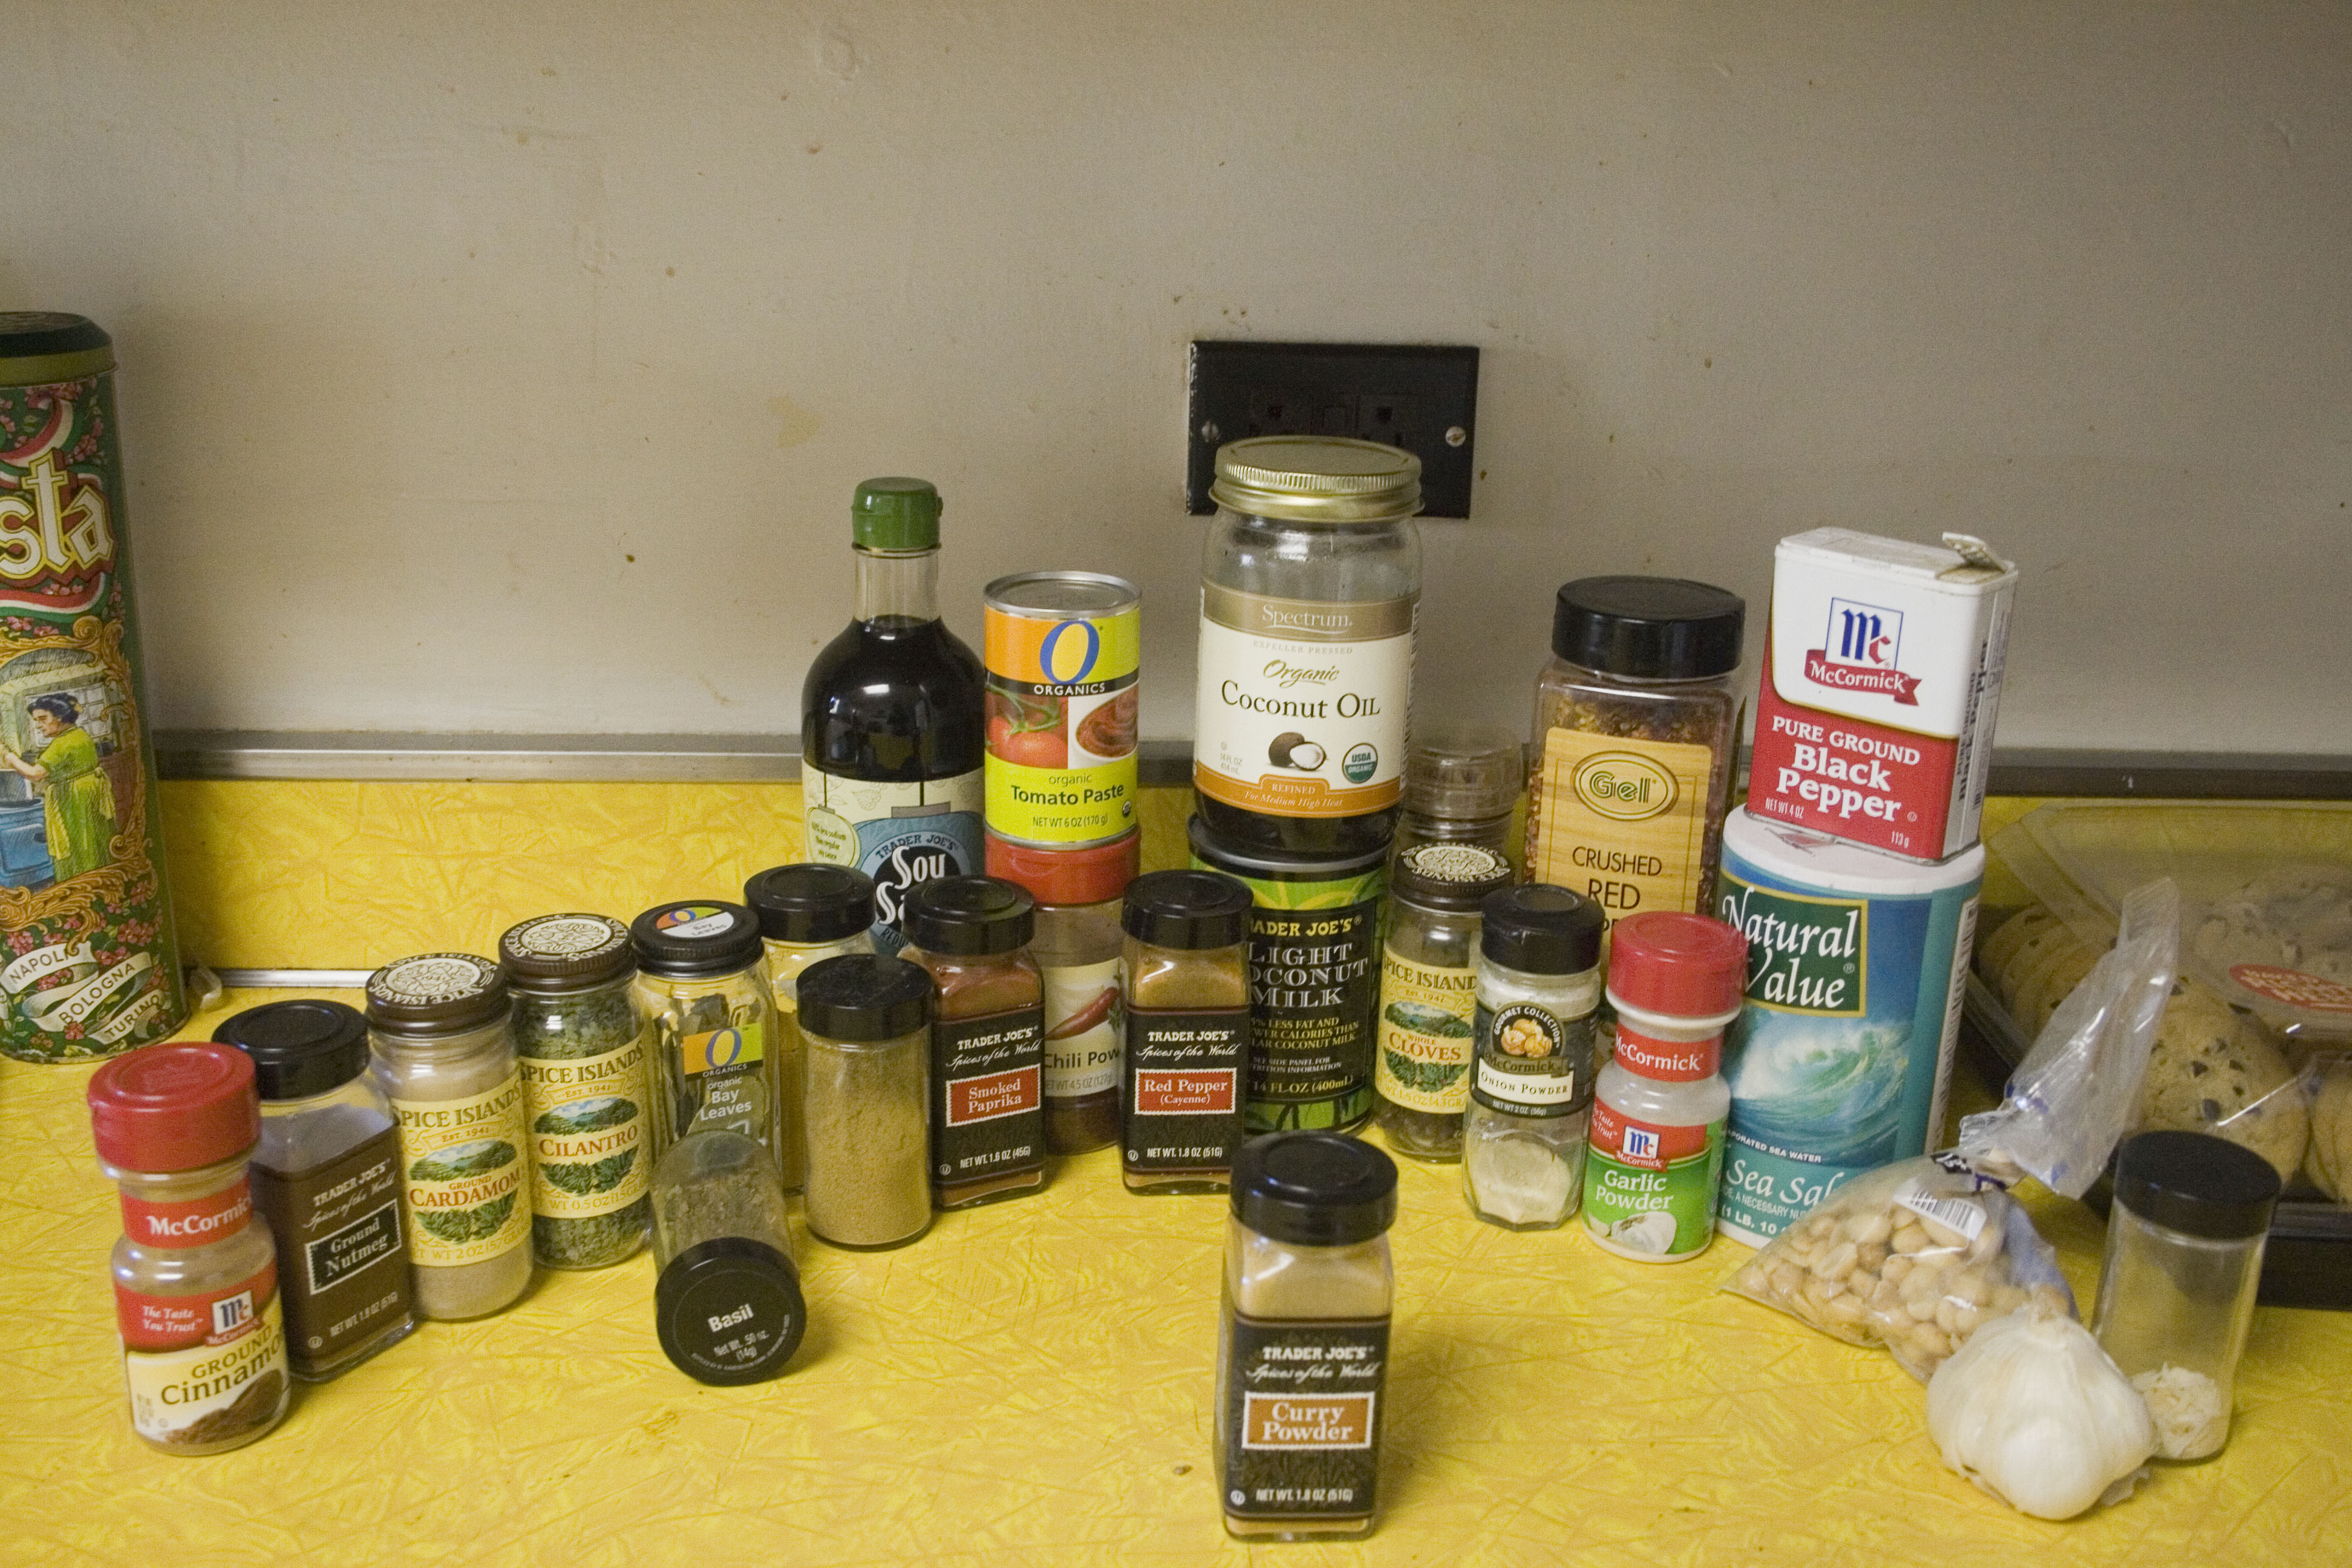
Step One – Spices: Curry sauce is an assortment of the right curry spices in the proper proportions. While there is a curry tree whose leaves are commonly used in South Indian and Sri Lankan curries, curry does not need to include it and most do not. I make my curries sweeter with coconut milk, soy sauce, and less cayenne pepper, more like a Thai curry than an Indian curry. I advise premixing your spices, making a curry powder, then you can add it all at once to your coconut milk, medicated coconut oil, and for the curry I am making tomato sauce.

02

Step 2 – Prepare Your Fresh Veggies: For me this is just garlic, as I am not adding any cilantro or basil until later. To mince garlic first you must get it out of its shell and the easiest way to do that is to crush it under a large chef’s knife, as depicted. This will crack it open and often smash it down beginning the work of mincing. If it has sprouted a green leafy core just remove that and use the rest, this doesn’t mean the garlic has gone bad but it does mean you can plant it and grow a garlic plant.

0607

Do Any Final Prep Work…
My last prep work consists of crushing peanuts to throw into the mix. I don’t have a mortar and pestle, instead I used the freshly washed bottom of a glass spice jar and a pyrex dish. It worked like a charm.

08


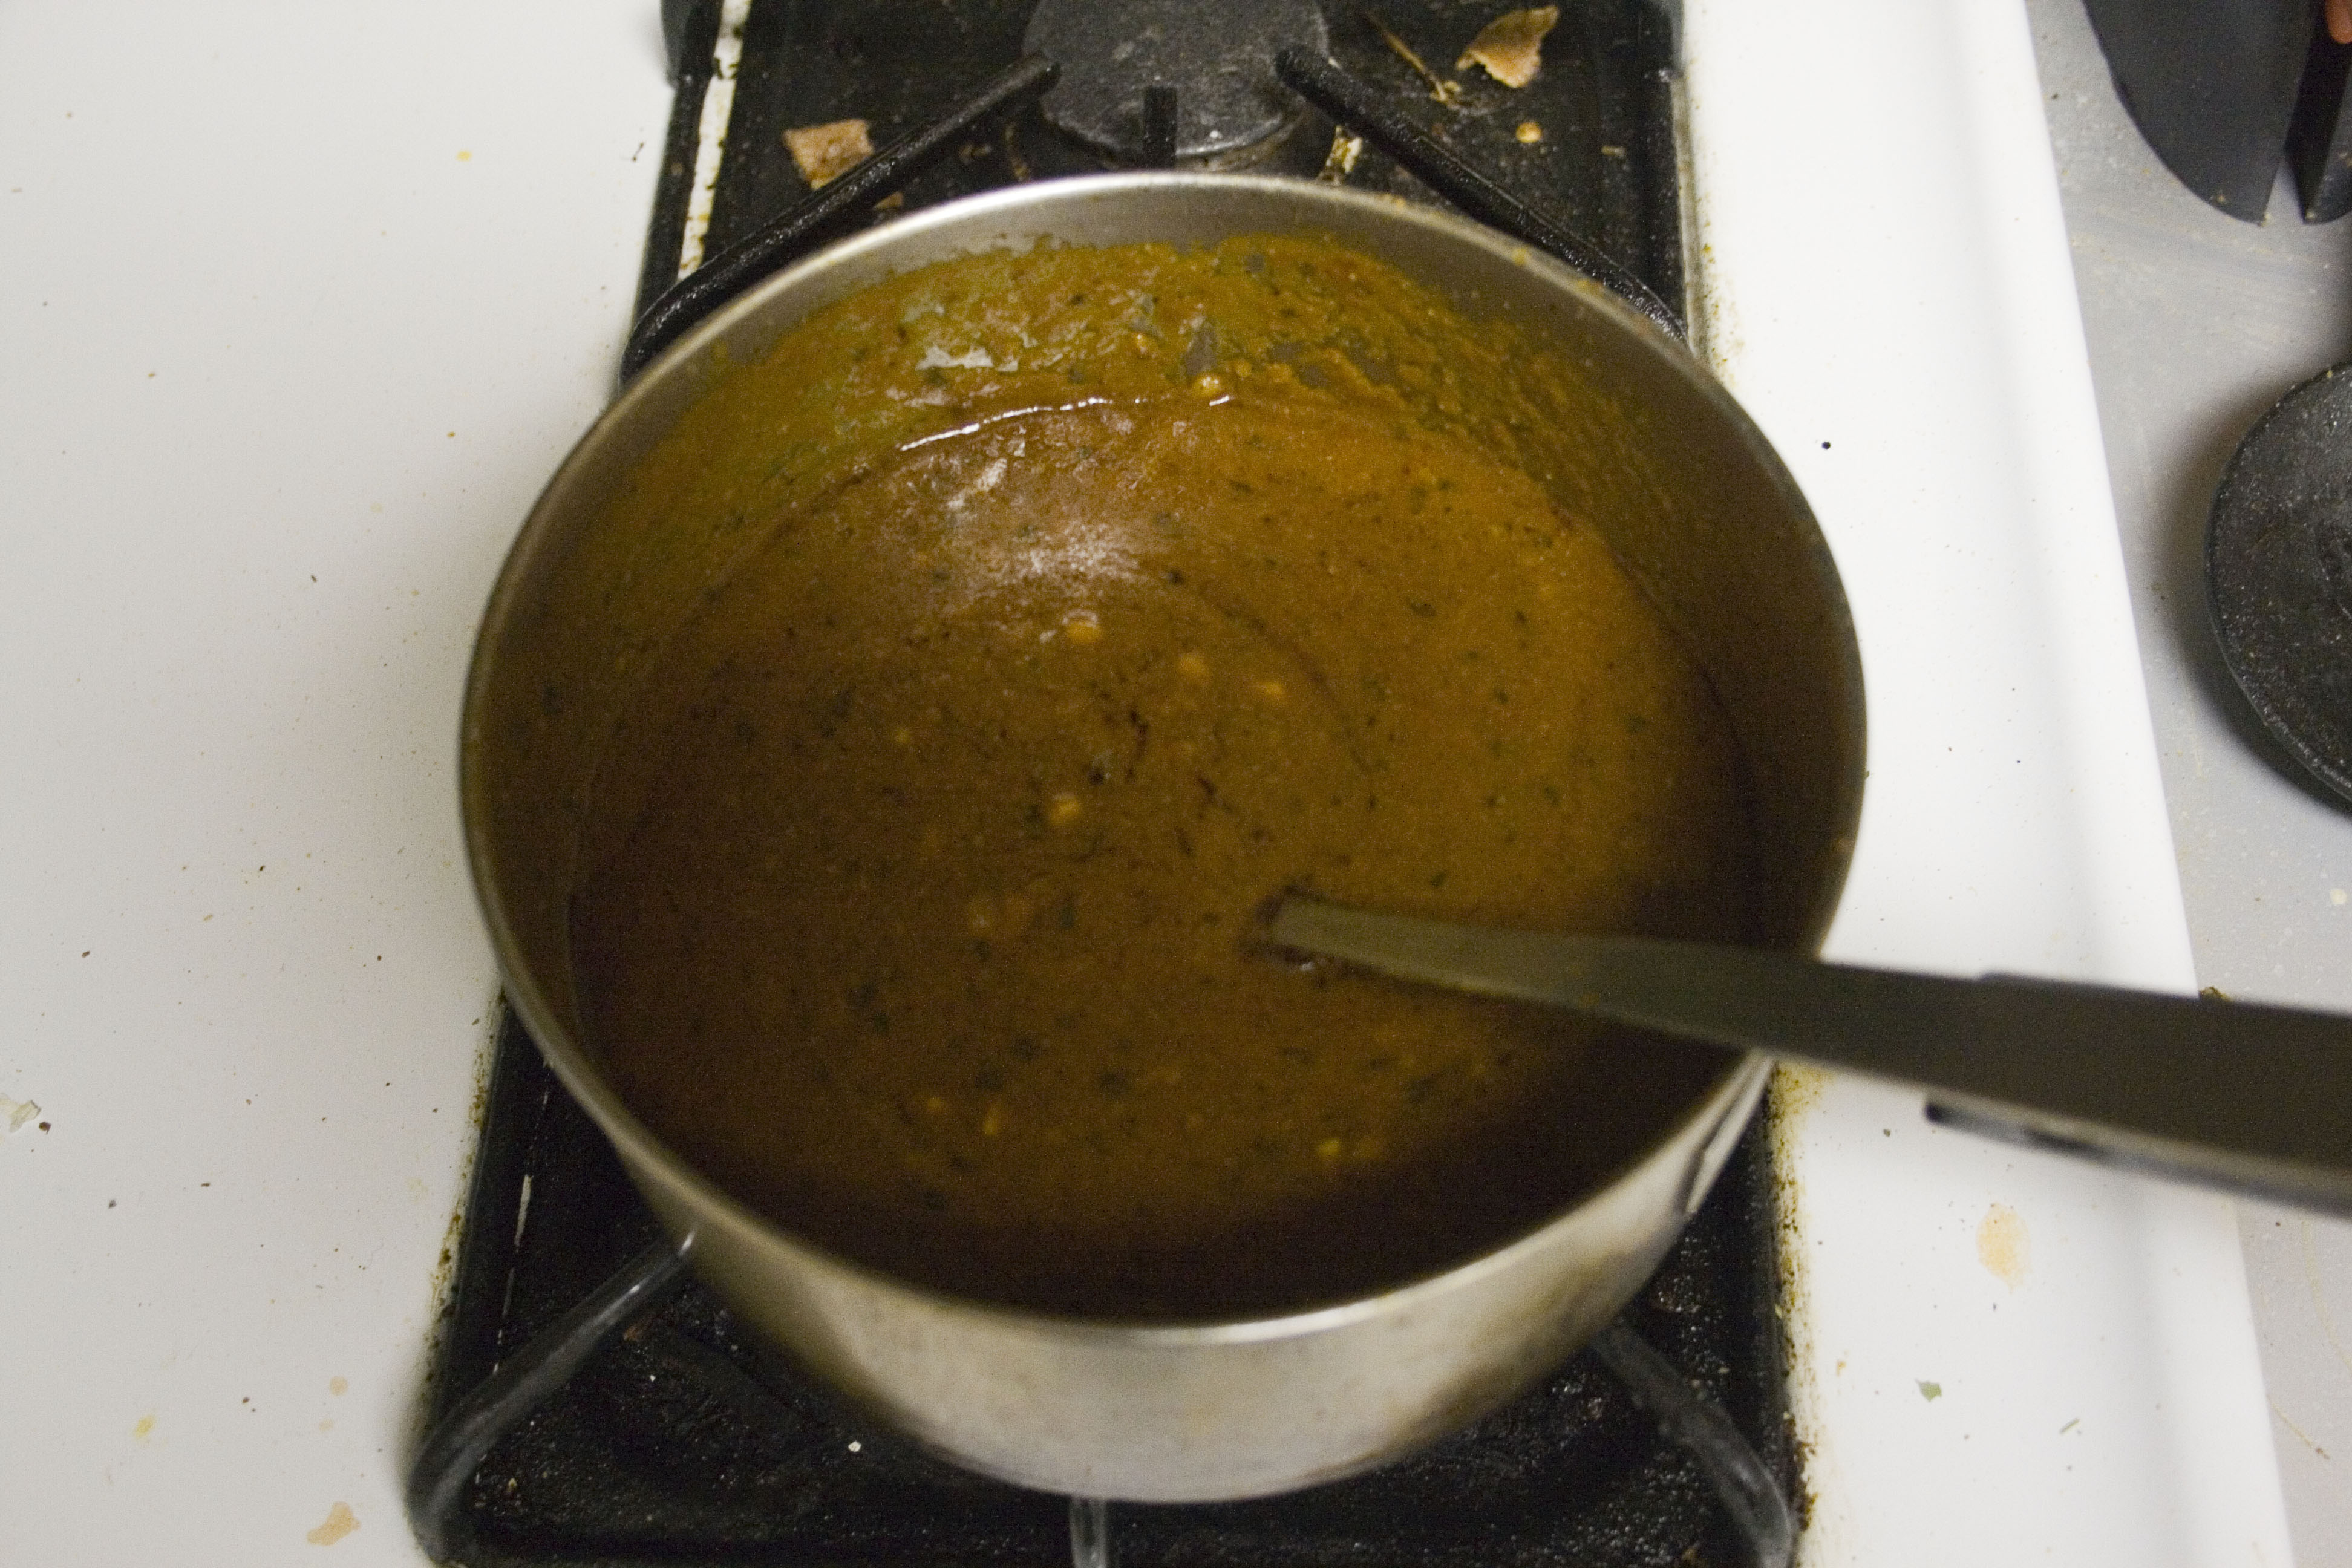
This is more or less what your finished curry should look like. Color and consistency depend largely on what ingredients you use. Let me stress again that there are few wrong choices with curry as it tends to vary dramatically from region to region. If something doesn’t work for you try a new blend of spices or start from a store-bought curry powder and add more spices to the mix to make it yours.

Advertisement

As I said in a previous post, I took some time off from posting around New Years to do some cooking and you all would be reaping the benefits. Time to show you the best method to make medicated cannabis oil/butter. Supposedly it works better to use a crock pot but I have never used that method, I’ve only done it on stove top.

An important thing to know before making your oil is a good ratio of bud/shake to oil/butter. I prefer using olive or coconut oil as they both have more saturated fat than butter and the THC binds to it much better as a result. THC is lipidic, that means it binds to lipids…fats; THC is also hydrophobic, it cannot bind to water. I used about  three ounces of shake for 2 pounds (32 ounces) of oil, and threw some kief in as well. Most recipes I have found online use a ratio of one ounce shake to one pound of oil/butter, for bud it’s more like 1/2 ounce to the pound. I wanted a very strong batch as I have a high tolerance, and it certainly turned out strong.

What will really help the potency of your medicated oil is if you pre-bake the bud in the oven before cooking it on the stove. This is a process known as decarboxylation, this is a chemical process where carbon is evaporated out of the plant matter. All living things are made of carbon and over time exposure to heat and oxygen will cause decarboxylation. Using the oven accelerates this process. This is crucial for making cannabis oil because when cannabis decarboxylates the non-psychoactive THCa and other trace cannabinoids are converted into THC, which greatly raises the potency of your batch. I put my kief into a pyrex dish to keep it separated and cook it better.

01

Step 1: Decarboxylate the cannabis. You can either use lower heat (240ish degrees) for about an hour, or a flash heat of 5-10 minutes at much higher (about 300). I am skeptical of the flash heating method as the higher heat runs the risk of burning off desirable cannabinoids and terpenoids. I cooked mine at 280 for about 30 minutes and it was a great success.

02

Step 2: While the cannabis is decarboxylating start heating up the coconut oil on the stove in the jars in water. Use a medium to low heat to not crack the jars, it helps to preheat the jars in hot water before turning the stove on. You want the oil/butter to be liquid before you throw it in with the cannabis to cook it all together.

03

Step 3: Begin to boil water on the stove, after a couple minutes add the liquid oil to the water. After about five minutes throw the cannabis in and cook it for the next 2-3 hours. You will want to begin on a medium/high heat to boil it and finish any final decarboxylation, but soon cut it down to a low heat, and you will keep it on low heat for the next 2-3 hours. Low heat is important to not burn off the oil or give it a burned flavor.

04

Step 4: Let the mixture cool off and put it through a metal strainer, letting the water and oil drip into a Tupperware container. After you use the strainer I would recommend squeezing out the additional oil with cheesecloth, or  at least press it through the metal strainer with a spoon. This is crucial as most of the oil will still be in the plant matter and needs to be squeezed out. Put it in the fridge overnight, NOT THE FREEZER!!

05

Step 5: After a night in the fridge the coconut oil will be a solid again, but the water will still be liquid, this is crucial so you can easily separate the oil from the water. Freezing it will also freeze the water making this impossible or at least *really* annoying and  time consuming…so if you like being annoyed and wasting time be my guest…or put in in the fridge and voila!

06

If you put it in the fridge cut out a small corner of the oil and pour out all the nasty waste water. Many people suggest using a double boiler method where the cannabis and oil are in one smaller pot layered inside of a larger one holding the water. Don’t fall for that crap. THC is lipidic and binds into the oils, unlike tannins which go into the water. If you separate the water from the oil those tannins have nowhere to go other than into your oil making it taste awful, by putting it all in one pot the tannins go into the waste water to be discarded.

07

Step 6: Chop up the oil into little pieces and put them back into the jars. I personally like to label my medicated things so people know what it is and don’t mistake it for just plain oil.

08

That’s what the final product looks like. I’ll be posting up a recipe in the next couple of weeks using this, and it’s not boring pot brownies. Stay tuned to learn how to make a medicated curry sauce.